
Field Care
So you’ve just bagged your trophy, or maybe you’re about to go on a hunt of a lifetime, and you want the best results.
Well, we’re all about that…
First and foremost, I preface our field care and other information by saying that there is a ton of different information out there with dos and don’ts of taxidermy. From talking to customers in our last several years of business, there has been people that have had some really great experiences, and then also some who have had some not so good ones. Our suggestion is that you find a taxidermist you can trust by checking out their work and critique their end products, and then following their protocol as closely as possible.
Field care and proper handling of your trophies is crucial to achieve the best result possible. No matter what animal you may be considering mounting, there a few things that fall true to every animal.
The first and most important thing is to never wash, clean, or even rinse your hides or skins. Yes, the blood, the dirt, all the grime from dragging, leave it alone. We will clean when necessary, incorporated into our receiving process.
Animals to be mounted need to be frozen asap. If you don’t have access to a freezer, a fridge is better, and if a cooler is all you got, it’ll do. If a hide is put into a cooler, double bag it, and leave the drain plug open. Hides and water do not mix.
An attempt to be taken to a freezer is still priority. The faster it’s frozen, the better off the skin will be. Now that doesn’t mean that at the break of dawn you cut a group of birds and find yourself with a banded, hooded merganser, and you pack up and head home so you can get it in a freezer.. but it does mean that you shouldn’t leave it in direct sunlight especially if there’s some mild 60 degree weather.
If an animal is in a fridge or cooler, it can last for about 2-3 days at the absolute max, and then you need to be getting it in a freezer or to your taxidermist. Once in a freezer, the hide or wholesale animal can last weeks to months before anything needs done with it. Further instructions on this are listed out below.
Absolutely no salting of the hide should be done if you are going to be skinning your own animal. After it is removed, place the skin side to skin side, roll in a small ball, and then freeze solid. Creekside Taxidermy offers skinning services for all animals with no extra charge. However, sometimes a customer may find that they wish to do their own skinning and we understand that.
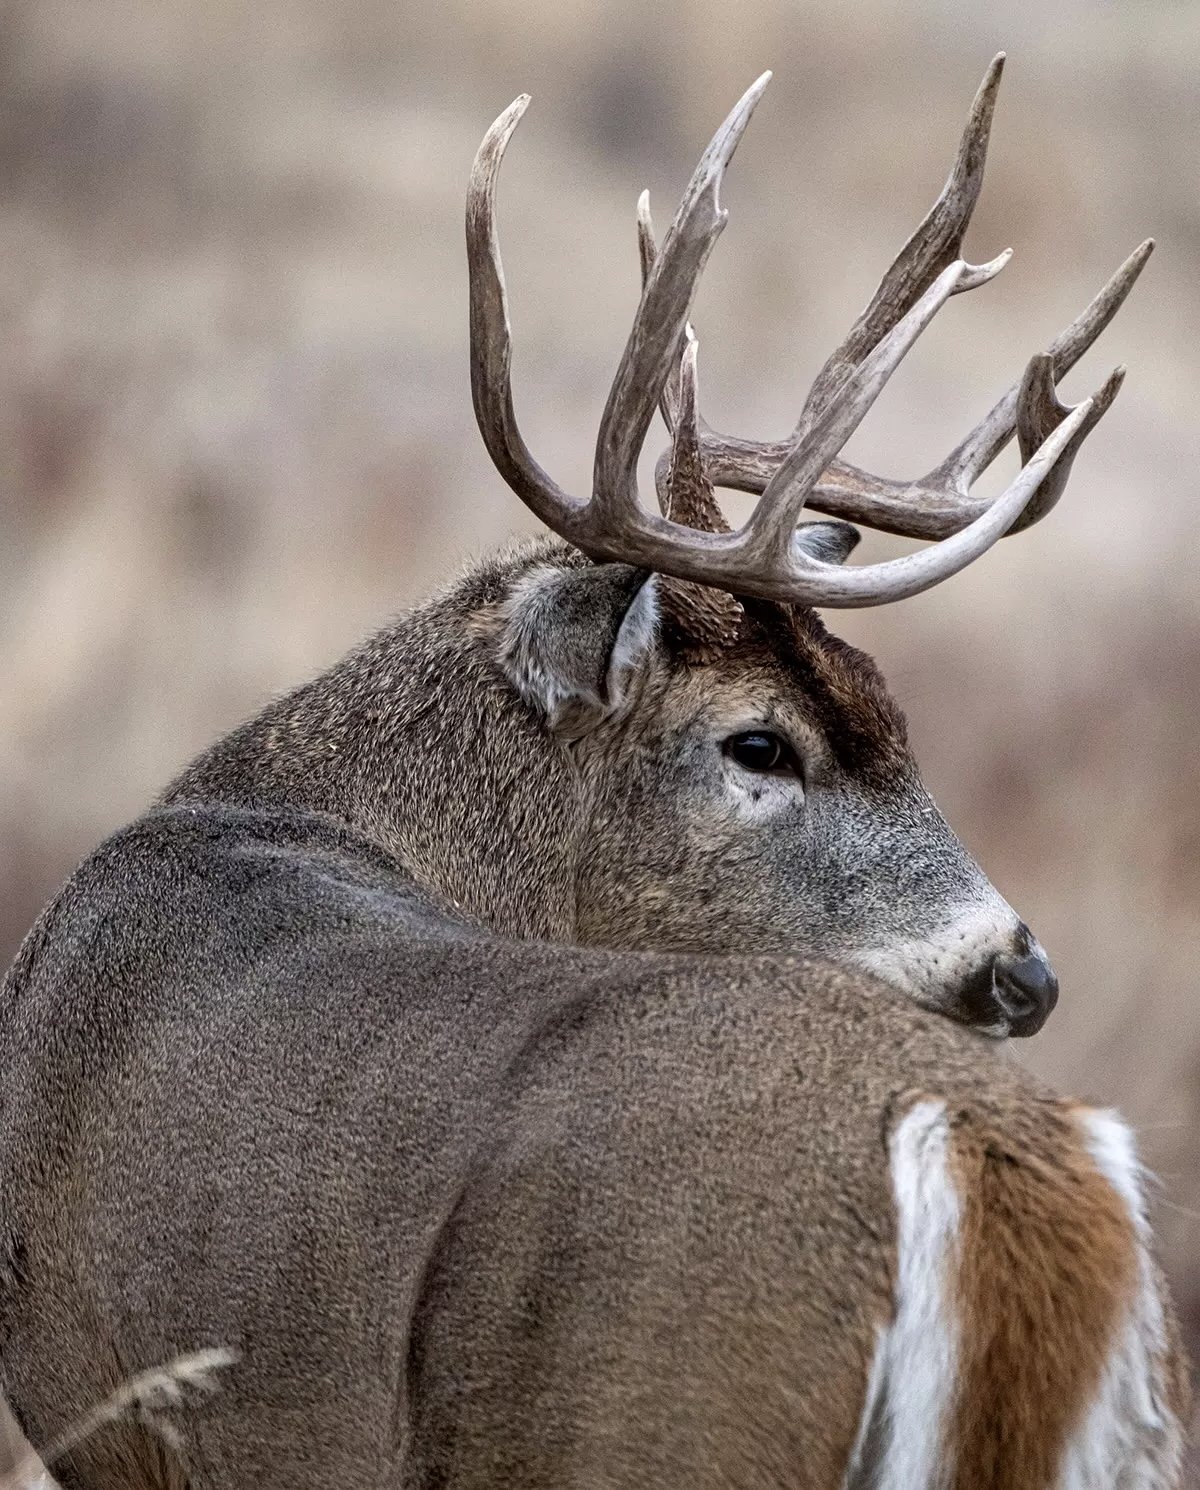
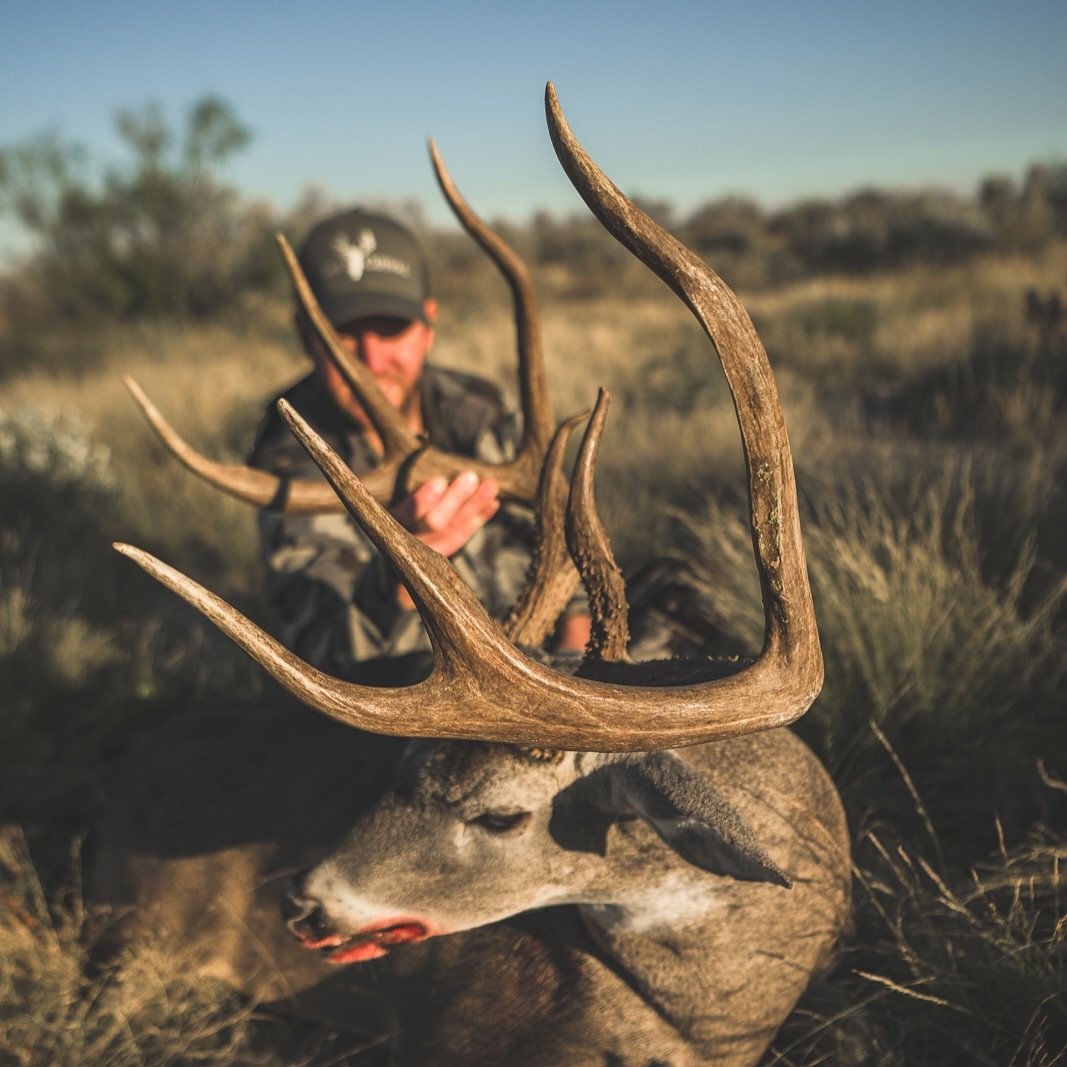
Whitetail deer and other antlered animals
Any antlered animal care is all about the same. Their hides are pretty bulletproof, and can handle a bit of abuse, but that doesn’t mean you should push your luck…
Taxidermists aren’t miracle workers, meaning, when your buddy’s uncles best friend’s brother told him that his taxidermist can fix any hole in any hide… that might be a bit far of a stretch. Miss cuts, and improper caping jobs can only be hid to an extent.
Drag marks can become an issue, especially on early season hair. Snow can be a great aid in dragging deer as it provides a sot layer to not pull on hair. If you know you just bagged yourself a trophy, we recommend that you put the deer on a tarp, or on some sort of cart to minimize damage to the hair.
Skinning
We recommend skinning and caping your trophy, completely, before you consider removing any meat.
Creekside Taxidermy will skin deer completely free of charge, however, we know that sometimes it might be tough to get your wholesale animal to us. Follow these steps below if your skinning yourself.
When gutting your deer, stop at the sternum: right where the soft belly tissue meets hard cartilage.
Break and remove all legs at the main “elbow” joint.
Ring the deer at the end of the cut at the sternum. The back half of the hide can be removed. Everything that is left will be tanned for the mount. Note, more hide is better than not enough.
Follow the hair pattern up the backside of the legs with your knife. On whitetails, there will be a distinct line where brown hair meets white hair. Once you get up towards the armpit, stay on the outside of the deer. The hair usually gets longer here, go right through it. Keep going straight up till you get to about mid body of the deer, turn your knife 90 degrees, and head towards the “ring” cut you made to remove the back half of the hide.
Repeat for the opposite leg. From here, all that’s left to do, is just work the hide off the deer, careful to not put any holes in the hide. Accidents do happen, and small holes can usually be sewn back together without noticing them.
Work the skin down the neck, leaving only abought 6 inches of neck left. Creekside Taxidermy will charge more if large portions of neck are left in the hide. Cutoff the head with the 6 inches of neck attached, leaving the head still inside the cape. The cape can then be frozen until dropped off. We recommend placing the hide in a garbage bag, placing skin side to skin side.
If you are doing a backcountry hunt and need to remove the head from the hide, please call us ahead of time and we can walk you through the process.
